Blog
How to Layer Necklaces Without Tangling

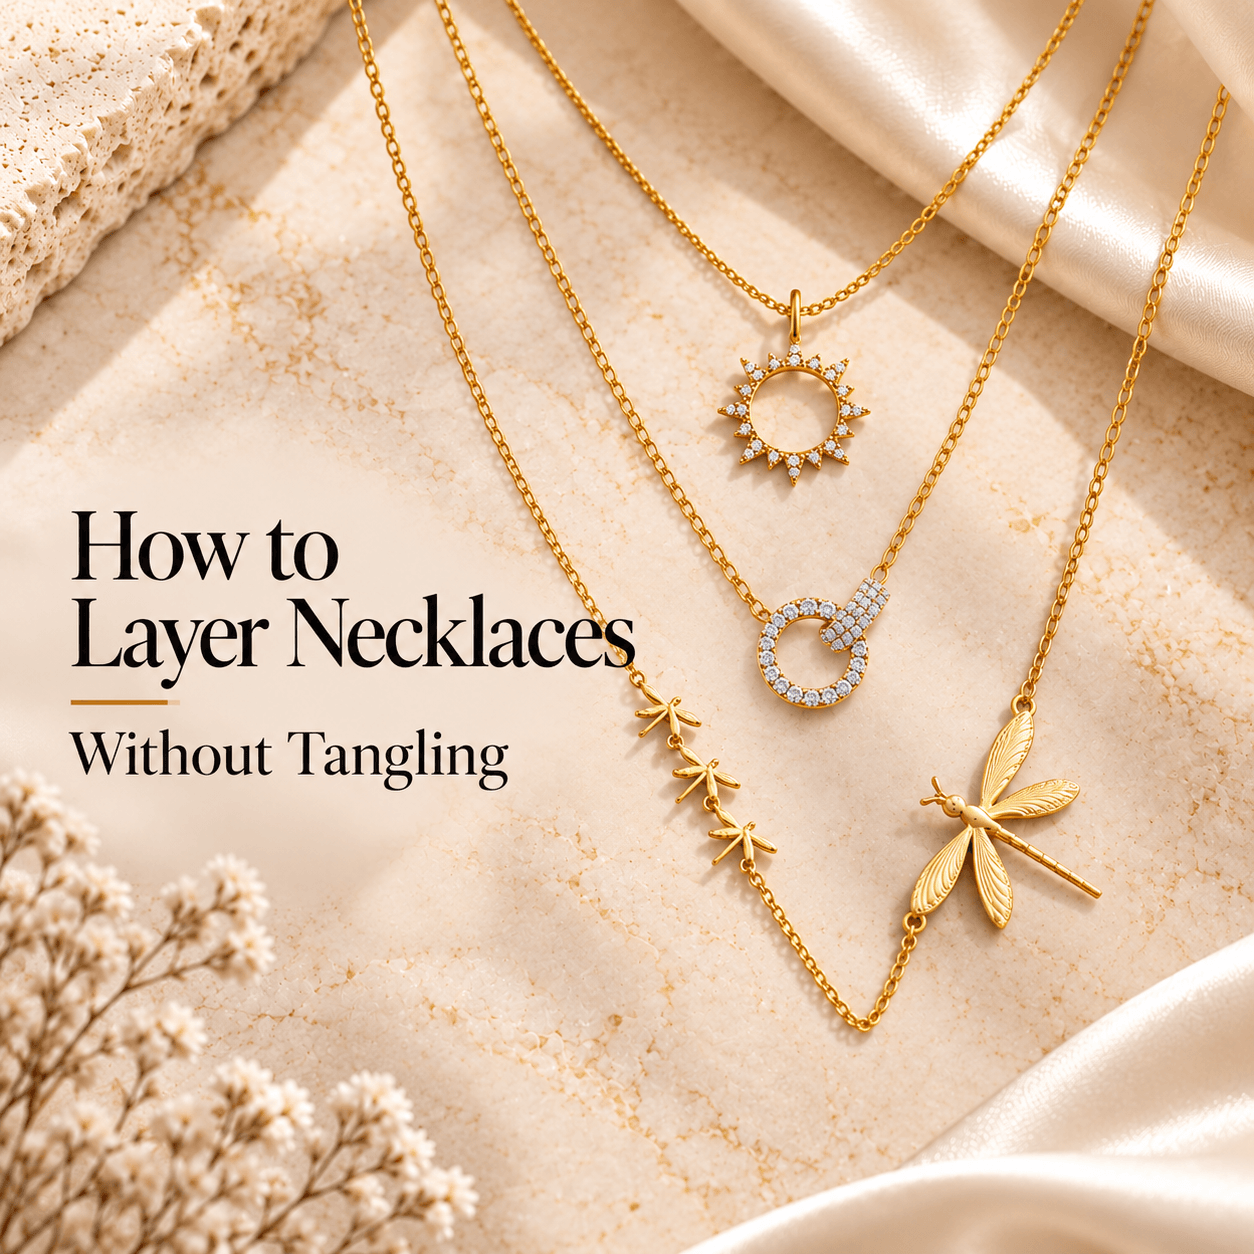
Layered necklaces look effortless in photos. Then you try it yourself and, ten minutes into your morning, three chains have twisted into one silver knot at the back of your neck. The good news: tangling usually isn’t bad luck. It comes down to a few things you can control, like length gaps, chain weight, and clasp placement. Here’s how to build a layered look that stays put from coffee to dinner, plus the small tricks stylists use to keep chains apart.
Why Layered Necklaces Tangle in the First Place
Before fixing the problem, it helps to know what causes it. Most tangles come from one of these:
- Lengths that are too close together. Chains that sit within an inch of each other rub constantly and slowly twist around one another.
- Chains of the same weight. Two equally light chains have nothing to anchor them, so they drift and cross.
- Clasps sliding to the front. As a clasp travels around your neck, it drags the chain with it and wraps it around its neighbor.
- Movement. Pulling on a sweater, turning your head, or carrying a bag strap across your chest all shuffle the layers.
Once you see the pattern, the fixes make sense. If you’re starting from scratch, browsing a range of women’s necklaces in sterling silver can help you spot the mix of delicate chains and weighted pendants that layers best.
The Simple Formula for a Tangle-Free Layer
Most good layered looks follow the same basic structure: a short base, a middle piece, and a longer anchor. Think of it as building from the collarbone down.
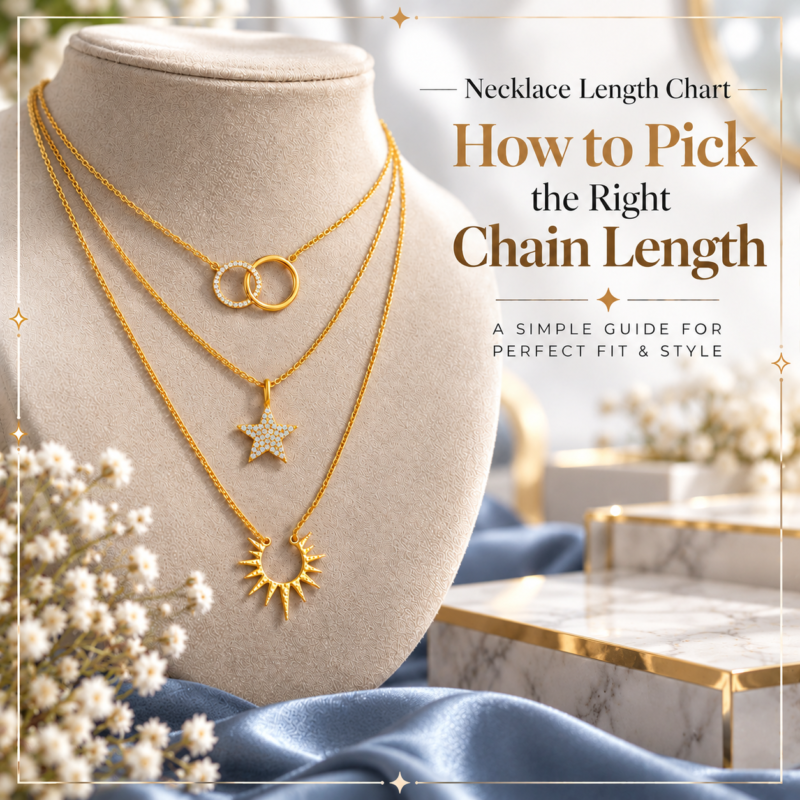
1. Space each layer about 2 inches apart
This is the single most useful rule. A gap of roughly 2 inches between chain lengths gives each piece its own lane. With pendants, add the drop of the pendant into the math so the charm doesn’t land on top of the next chain.
2. Put the heaviest piece at the bottom
A pendant or a slightly thicker chain on your longest layer works like a weight. It pulls that chain straight down and keeps it from wandering up into the shorter ones.
3. Vary the chain styles
Mixing textures, like a fine cable chain with a paperclip or a rope chain, helps them glide past each other instead of grabbing. It also just looks more intentional.
4. Stick to three layers to start
Three is the sweet spot. Two can look unfinished, and four or more is much harder to manage day to day. Once you’ve got the hang of it, add a fourth.
Easy Layering Combinations to Copy
Here are a few starter stacks using standard US necklace lengths. Measure from your own collection; these are guidelines, not hard rules.
| Look | Layer 1 (top) | Layer 2 (middle) | Layer 3 (bottom) |
|---|---|---|---|
| Everyday minimal | 14–16 in. fine chain | 18 in. small charm | 20 in. simple pendant |
| Office-friendly | 16 in. thin cable chain | 18 in. small gemstone pendant | (optional) 22 in. bar pendant |
| Holiday party | 16 in. sparkly CZ or tennis-style chain | 18–20 in. statement pendant | 24 in. long chain |
| Weekend casual | 15 in. paperclip chain | 18 in. initial or letter pendant | 22 in. coin or disc pendant |
| Turtleneck or sweater | Skip short chains | 24 in. chain | 28–30 in. long pendant |
A quick note on that last row: high necklines work best with longer layers that sit on top of the fabric. Short chains get lost or twist under a collar.
Tricks to Keep Your Chains From Tangling
Even a well-planned stack can shift. These small habits make a big difference.
- Use a necklace layering clasp (detangler). This is a small bar or connector with several clasps side by side. Each chain hooks into its own slot, so the backs stay separated all day.
- Put your necklaces on shortest to longest. Clasp the shortest one first and work down. Taking them off, go in reverse.
- Turn clasps to the back after dressing. Give each one a quick check in the mirror once your top is on, since pulling clothes over your head moves everything.
- Add a little weight. If a light chain keeps drifting, swap in one with a small charm. Even a tiny drop helps it hang straight.
- Choose flatter chain styles. Snake, box, and flat curb chains tend to twist less than very fine, loose cable chains.
- Store them separately. A lot of tangles start in the jewelry box, not on your neck. Hang chains individually or lay them flat in a lined tray with dividers.
Quick fix: if a knot forms, don’t pull. Lay the chain flat, add a drop of baby oil or a dab of mild dish soap, and gently tease the knot loose with two straight pins. Rinse, then dry thoroughly with a soft cloth.
Mistakes to Avoid When Layering
- Stacking all the same length. It almost guarantees tangles and the pieces compete instead of complementing each other.
- Too many pendants. Two focal pendants is plenty. More than that and nothing stands out.
- Ignoring your neckline. A V-neck loves a V-shaped stack with a pendant at the point. A crew neck works better with a short chain above the collar and a long one below it.
- Mixing finishes that clash. Polished sterling silver next to oxidized or matte silver can look mismatched. Keep finishes in the same family, or mix metals on purpose with at least two pieces of each.
- Forgetting the pendant drop. A 1-inch pendant on an 18-inch chain sits closer to a 19–20 inch length, so plan the next chain longer.
Caring for Layered Sterling Silver
Layered chains rub against each other, and fine chains pick up lotion, perfume, and sweat easily. A little upkeep keeps them shiny and supple:
- Put on lotion, perfume, and hairspray first, then add your necklaces once everything has dried.
- Take them off before showering, swimming, or working out.
- Wipe each chain with a soft polishing cloth after wearing to slow tarnish.
- Store sterling silver in an airtight bag or a lined box with an anti-tarnish strip.
Remember that 925 sterling silver is 92.5% silver and 7.5% other metals, usually copper. That copper is what makes it durable enough for everyday chains, and also why it tarnishes over time. Regular wear and gentle cleaning are the easiest ways to keep it looking bright.
Build Your Layered Look Piece by Piece
You don’t need a whole new collection to start layering. Begin with one short chain you already love, add a middle pendant that means something to you, and finish with a slightly longer piece that has some weight. A colorful stone in the middle layer is an easy way to pull the stack together, and something like this labradorite heart pendant necklace gives you that focal point while leaving room for simple chains above and below. With the holidays coming up, a layered set like this also makes a thoughtful gift that she can wear together or one piece at a time.
Frequently Asked Questions
How many necklaces should you layer at once?
Three is the easiest number to start with because it looks full without being hard to manage. Two works well for a minimal look, and confident layerers sometimes go to four or five. The more chains you add, the more important length spacing becomes.
What lengths should layered necklaces be?
A popular combination is 16, 18, and 20 inches, or 16, 18, and 22 inches if your bottom piece has a pendant. Aim for about 2 inches between layers. If your neck is on the larger side, shift every length up by an inch or two.
Do necklace layering clasps actually work?
Yes, for most people they help a lot. Because each chain clips into its own slot, the backs can’t twist together, and the front tends to stay neater too. They’re especially useful with very fine chains that tangle easily.
Can you layer silver and gold necklaces together?
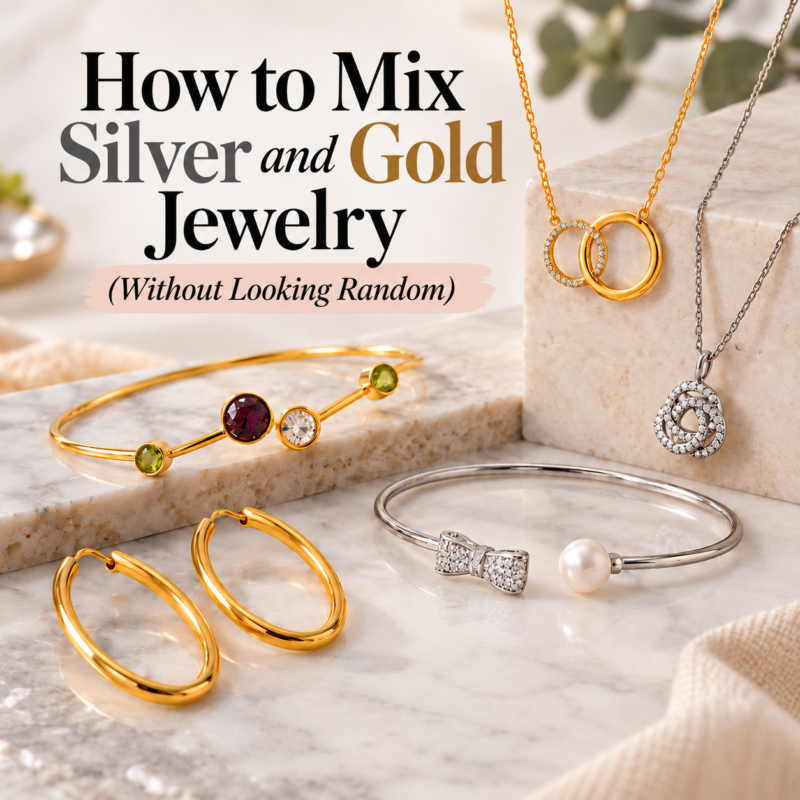
Absolutely. The trick is repeating each metal at least twice so the mix looks deliberate. A two-tone piece can also act as a bridge between the silver and gold layers.
Can I sleep in layered necklaces?
It’s best not to. Tossing and turning puts stress on fine chains and clasps and is one of the quickest ways to create knots. Take them off at night and hang them up so they’re ready to go in the morning.